This post is going to focus on how to install node.js on your windows 10 operating system and i am also going to show you how to setup your path environment variables for node.js so you can be able to use node.js from any directory in your computer system.
STEP 1: Download Node.js
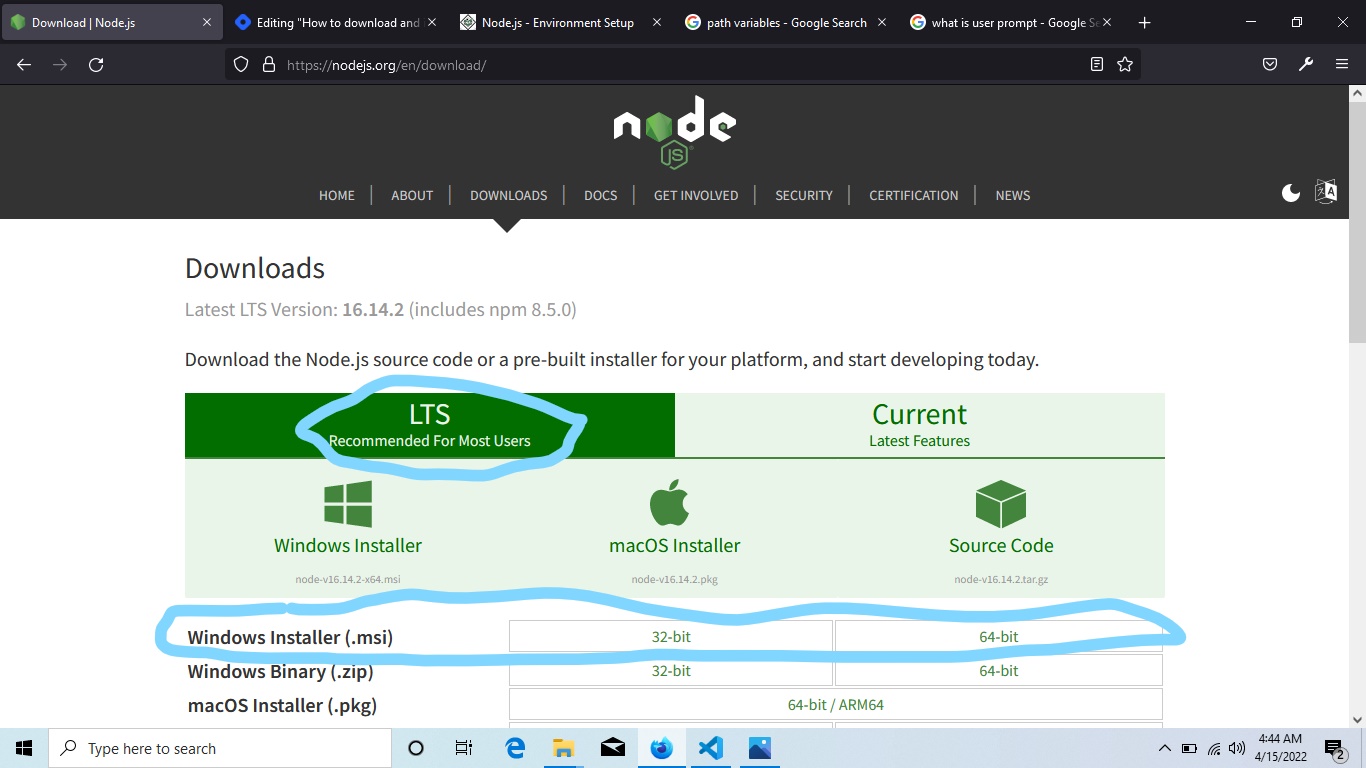
First of all, you need to download and install node.js from the official website
On the website, the Long Term Support(LTS) version (which also includes npm) will be selected by default but if by any means it is not, please make sure it is selected because that is the version we want and it is also recommended for most users.
We’re going to be using the Windows Installer (.msi) for our installation and as such, you can either select 32-bit if you have a 32-bit CPU and operating system or 64-bit if you have a 64-bit CPU and operating system.
How to check your system type (32-bit or 64-bit) in order to know which windows installer to choose
Press the windows button on your keyboard
Search for “about your pc”
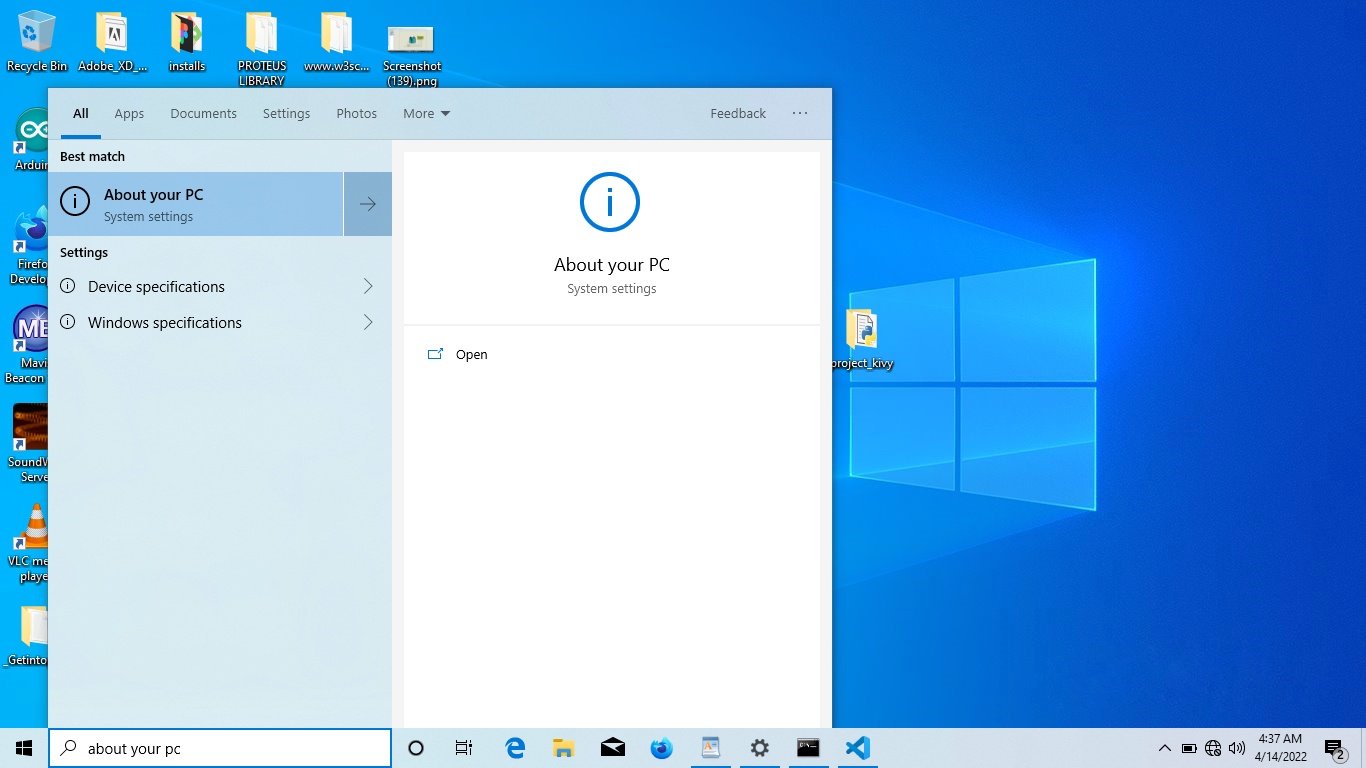
- press enter
- You will be able to see your system type under your device specifications as shown in the image below.
STEP 2: Installation
Now that we have the node.js downloaded, it’s time to open and run the windows installer
So go now to your downloads folder(or wherever you may have the node.js installer downloaded into) and run the setup.
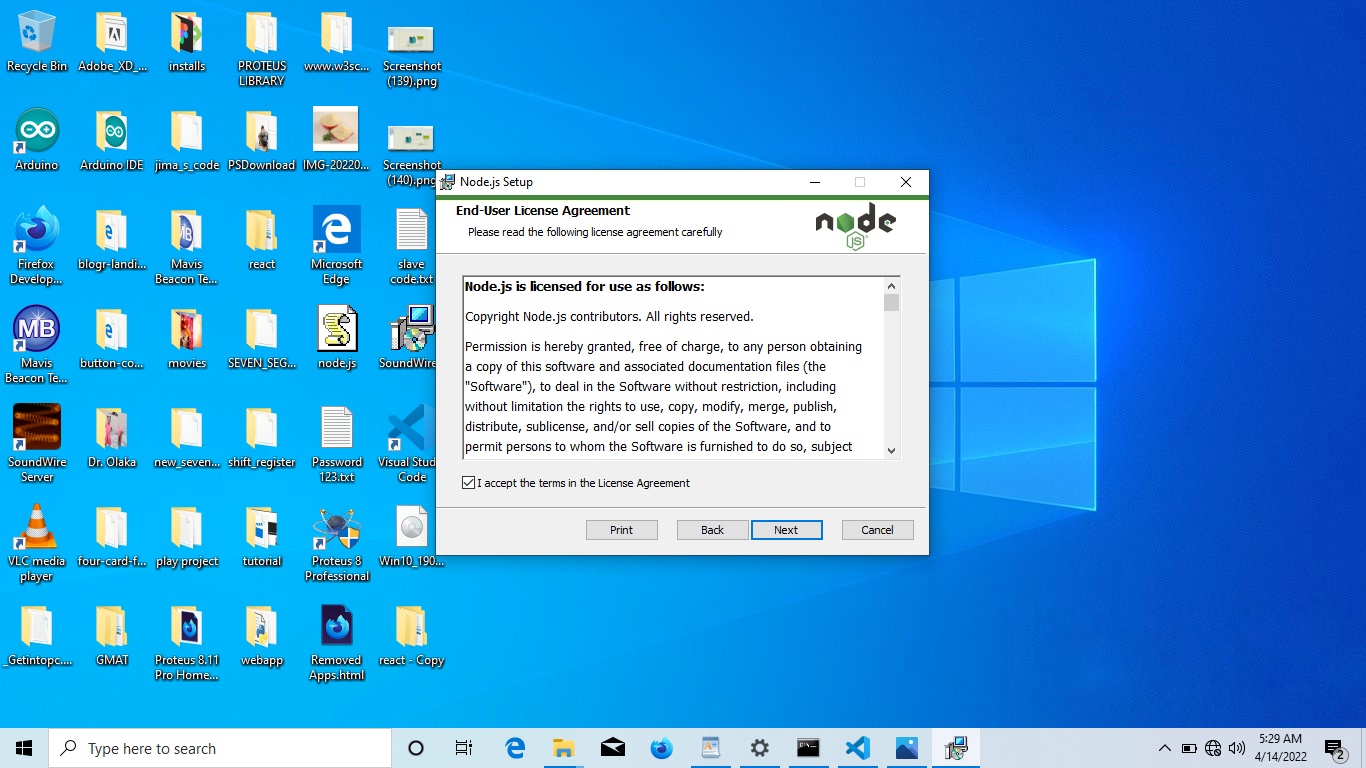
When you double-click on the installer file, you will see the following screen.

Click Next
Read and accept the terms in the license agreement and click next again
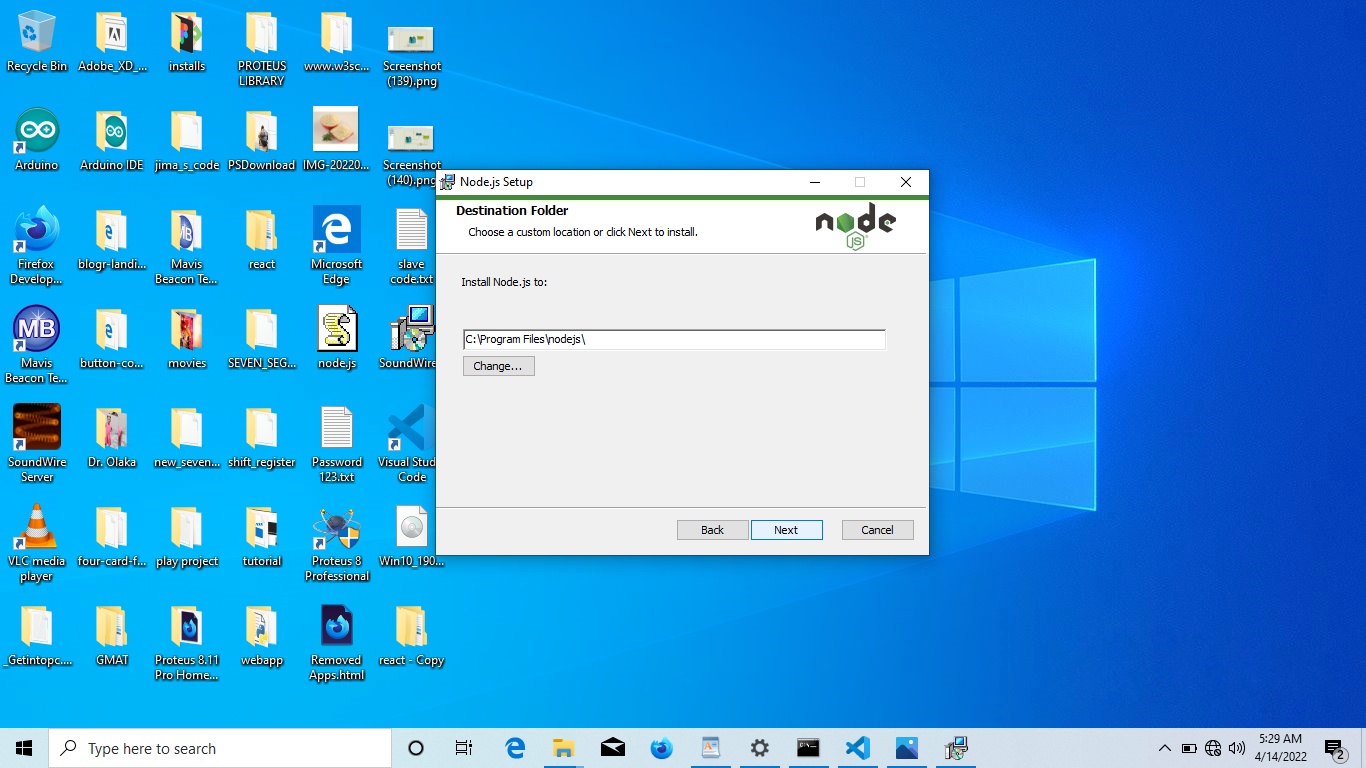
- You can now choose to select the folder in which you want node.js to installed in by clicking on change.. or choose to install node.js in the default location provided by leaving it the way it is and clicking next.
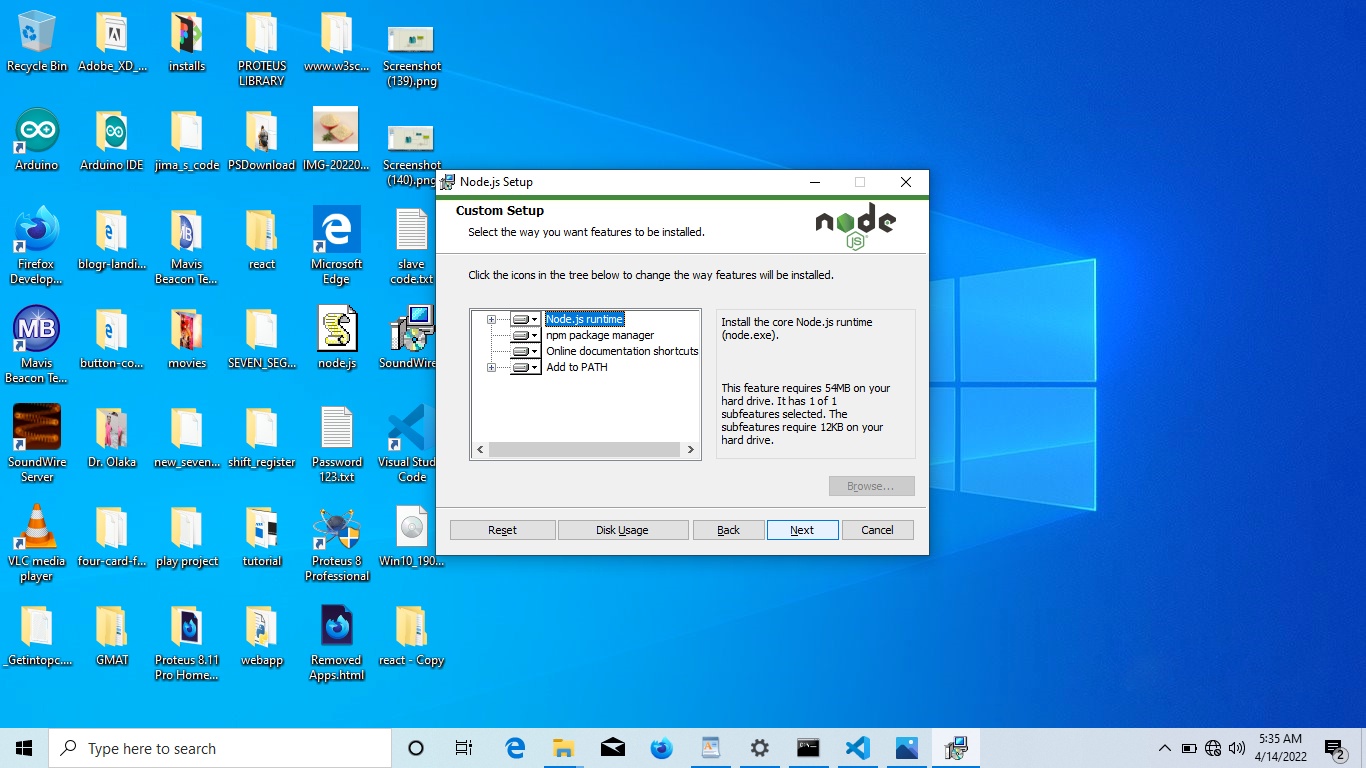
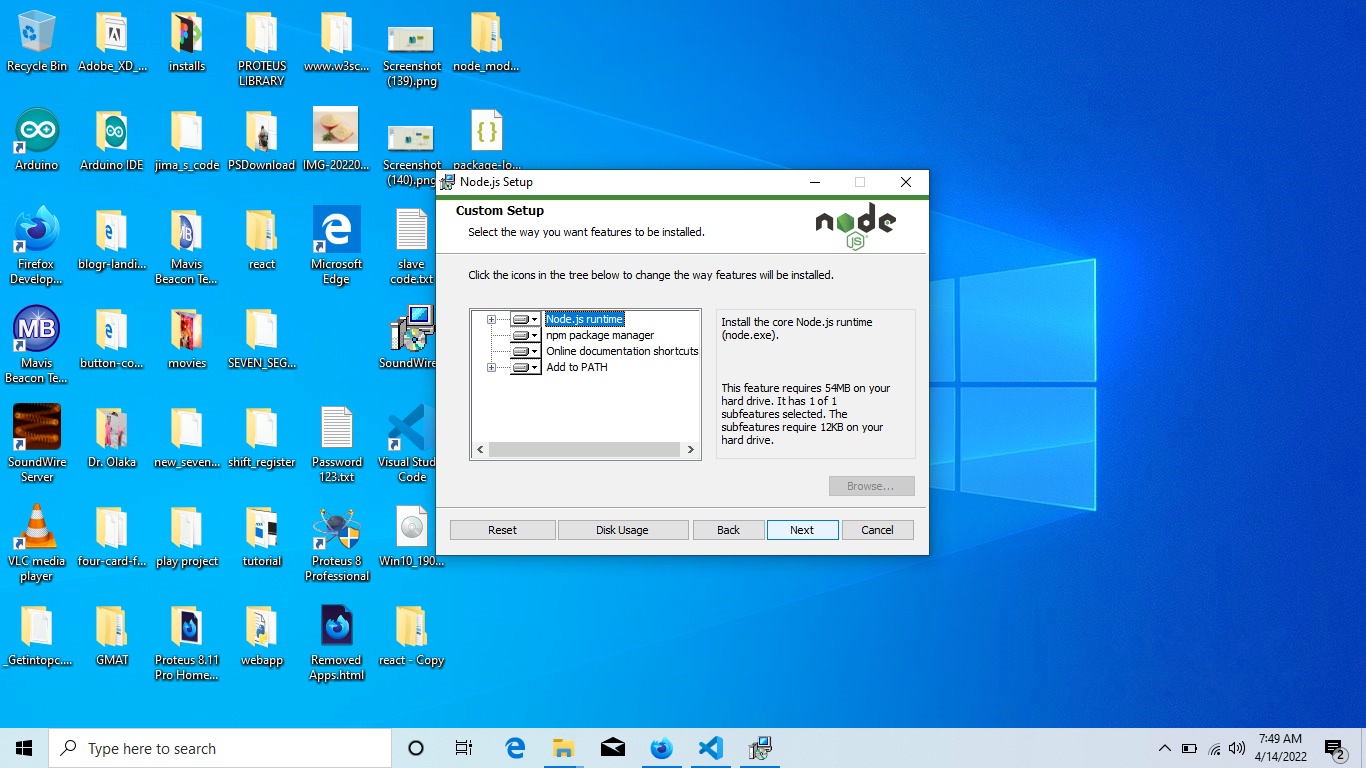
- On the custom setup page, just click Next
- On the Tools for Native Modules page, click next again
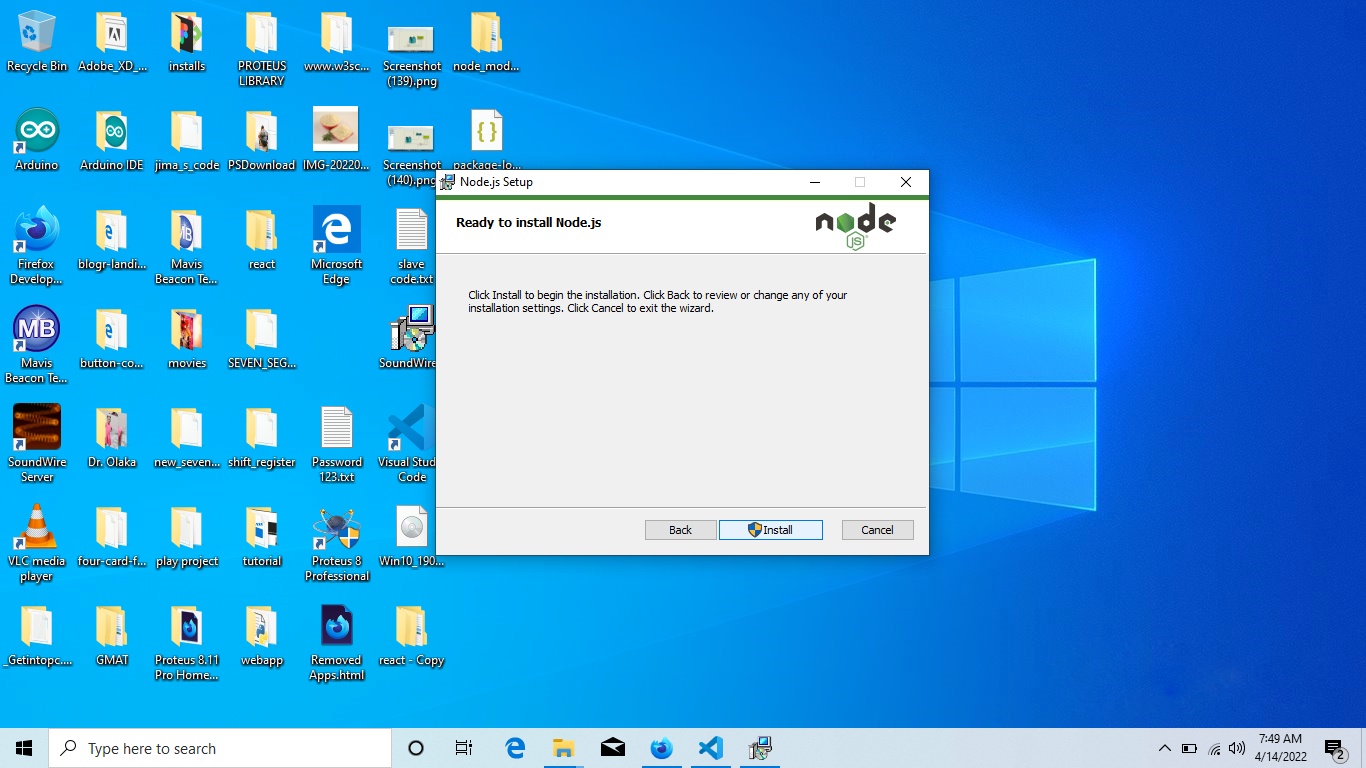
- Finally click install..
- After the installation has been completed, click finish..
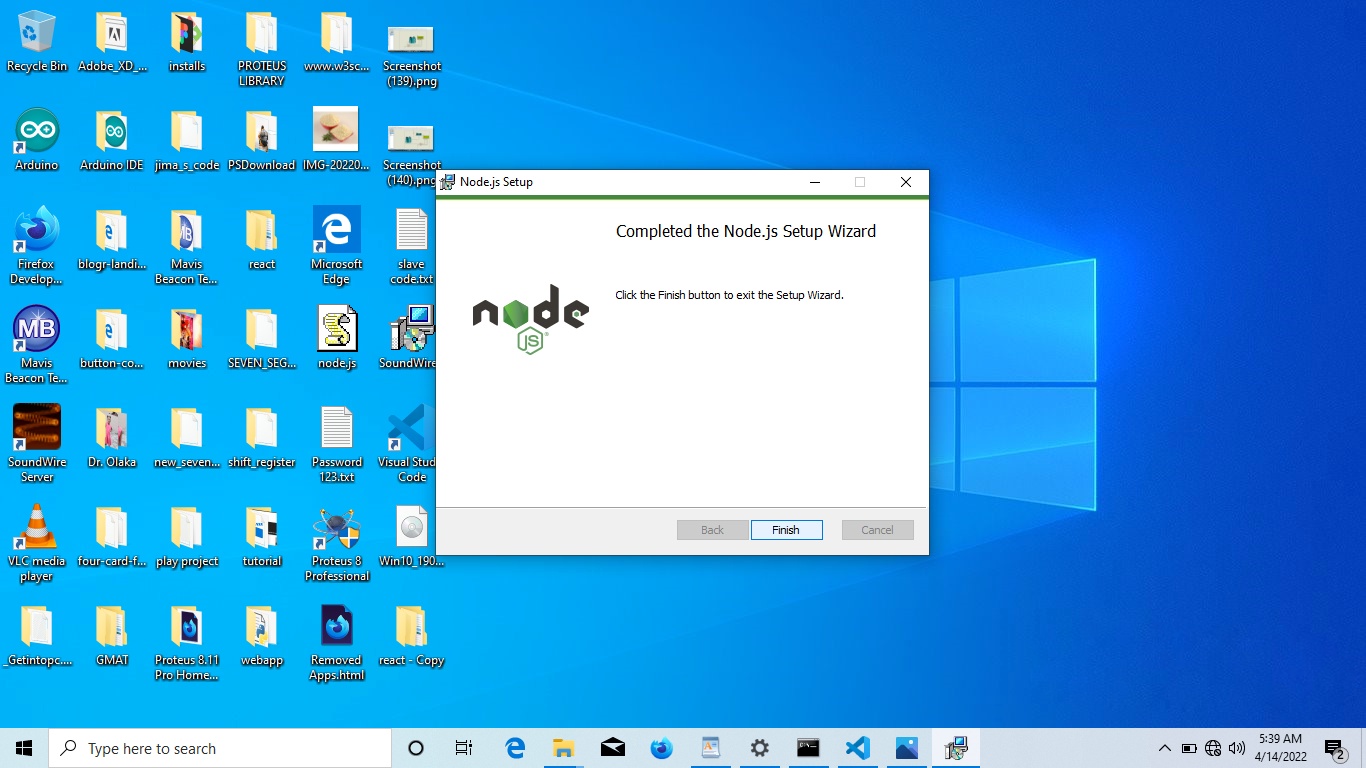
And voila!! You have node.js up and running..
HOW TO SETUP ENVIRONMENT VARIABLE FOR NODE.JS
In order to be able to access and run any javascript file on the server, from any folder; you need to add the path to the node.js executable file as a path variable. Here’s how you can do this.
STEP 1: Copy the Path to Node.js Destination Folder
- Remember during the installation process, there was a user prompt asking us to set the destination folder for node.js? Now you need to go to that folder and copy its path. If you made use to the default destination folder provided during installation, then your path will be C:\Program Files\nodejs. You need to copy the path to the destination folder because we’re going to be needing it in the next step.
STEP 2: Add the destination folder as part of the Path variables
- In order to do this, press your windows button and search for “edit the system environment variables” and click enter - this is going to open the system properties window.
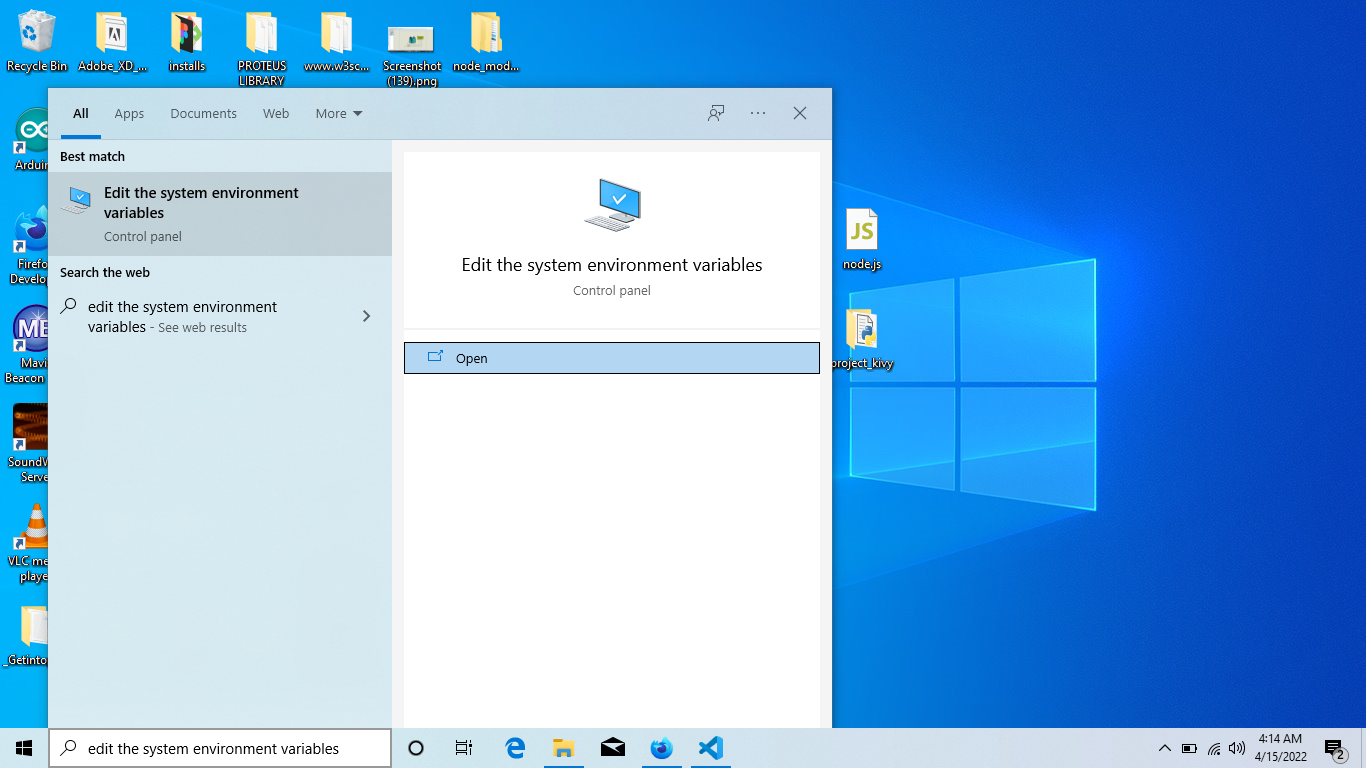
- On the system properties window, click on “Environment Variables..” - this is going to open the environment variables window.

- On the environment variables window, double-click on “Path” - this is going to open the edit environment variables window
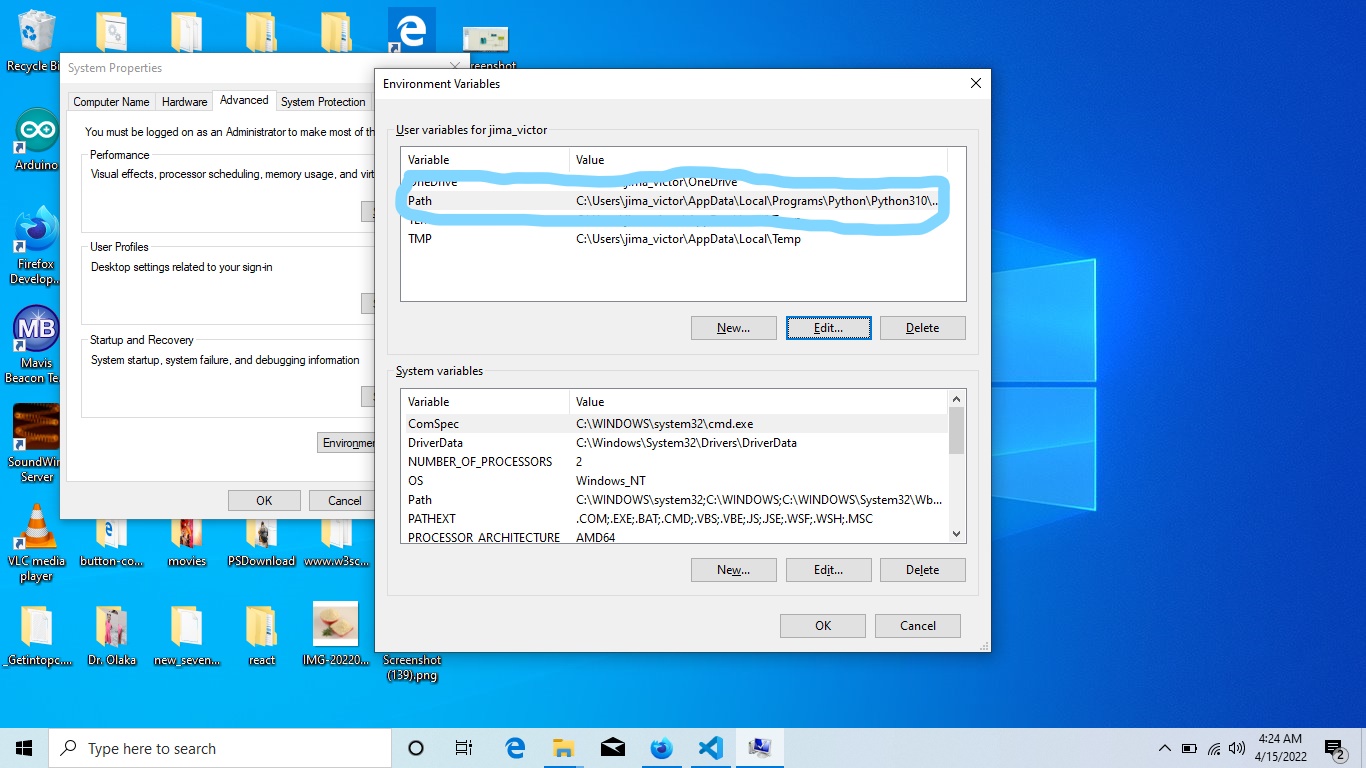
- On the edit environment variables window, click on New, paste the path to the destination folder and click ok.

And that’s it! You can now click ok to close out of every window that was once open.